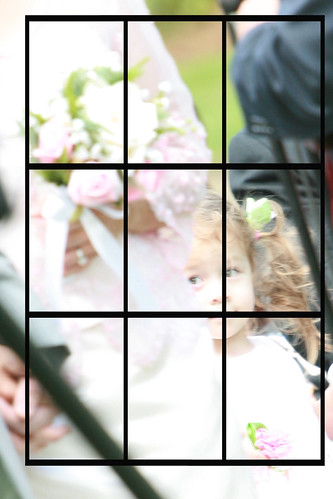
The fundamental rule in composition of photographs is termed "the rule of thirds." If you divide your photo by a grid with two horizontal lines and two vertical lines, your points of interest are best balanced when they are placed along those lines or at the points of intersection. It also forces you to have your photo be mostly content and takes out extraneous empty space. The following is not the best example because I thought I was using the rule when I took the picture in the first place. So, warning, as I crop in, it's going to get grainy.
Here I've used a grid to divide up my photo: It brings two faults to my awareness.
(1) The bride's eyes are closed
(2) Only the pocket of the officiant is anywhere near the "thirds"
Sadly, after all this work, I think if I'd like it better if I had cropped it to look exactly like the center square in the grid. Note how the flower girl's face would be in the top left intersection point of "that" picture.

Here's a boring crop. I just centered the little girl:

It might look better because now she is clearly the focus of the picture and she takes up more of the photo. But, composition-wise, it lacks interest and seems flat.
There are multiple ways to crop the photo, usually I just use the crop tool and then just ("control" and "z") to undo the action if I don't like. Repeat until I get what I want. The following is a tool of Photoshop that makes it a little easier to double check your composition.
Step 1: Open your picture in Photoshop.
Step 2: To get this wonderful grid, right click on the icon in the tool bar that shows a "rectangle tool" and select "custom shape tool."
-at the top bar, in the "shape" pull-down menu, look for the "grid" icon and click on it
-Drag it over your photo

Now you're going to manipulate the grid to choose a better composition.
Step 3: Go back to the tools toolbar and look for the arrow icon "path selection tool."
Look at the top of the screen to the menu toolbar and make sure that the "bounding box" square is checked.
Step 4: Left click on your photo. This will bring up the bounding box/grid on your photo. Make sure you hold shift down whil you drag the grid around and drag the corners to change the size.
Step 5: When it is where you want it, double left click on the picture.

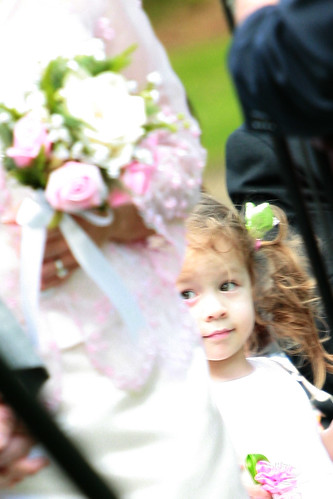
Step 6: There's multiple ways to crop or compose your photo. You can have more artsy or out there images...I could have had both points of interest be the flower girl...but for this one, I chose to make the bridal bouquet one point of interest and the flower girl face the other.
Step 7: Choose your "crop" icon and crop around your grid.

Step 8: You can now delete the grid layer to get rid of the grid.
(again, please excuse the graininess...not the best example..i'm in to close so it's grainy)

Using other methods: Darkening and deepening colors
Here I create multiple layers and change mode of layers to "multiply" to darken the photo


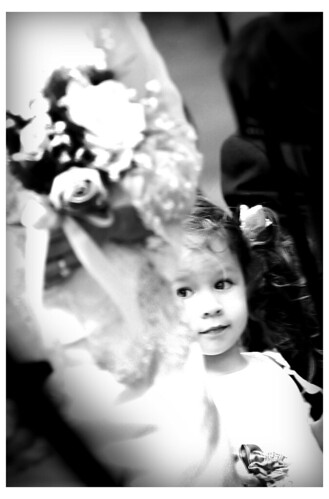
To try and detract from the graininess...I converted to black and white and increased the contrast.
No comments:
Post a Comment